
Taking flower multiple exposures is the very start of a photography adventure. An adventure that will eventually lead you into a world of blur, abstraction, and impressionism. Where rules don’t exist. And where you the photographer, over time will transform yourself into a visual artist.
This post may contain affiliate links, which means I may receive a commission if you click a link and purchase something that I have recommended. As an Amazon Associate, I earn from qualifying purchases. Please check out my disclosure policy for more details.
Double and multiple exposures allow you to indulge in fantasy. But one of their strongest uses is the intensification of reality.
~ Freeman Patterson
So join me as we uncover a multi-layered reality through my new photography series. I’ll be exploring multiple exposures, montages, blur, ICM – intentional camera movement, abstract, and impressionist photography. It’s going to be a series of experiments without rules. Rules after all only hinder our creativity. Forget about sharpness, forget about exposure. Gear doesn’t matter in these experiments. It’s the artistic vision that counts!
This is a series where flowers and other subjects will move across the frame with deliberation and fluidity yet with an ambiguous destination. Where light and shadows will intersect whilst colours will blend beyond what’s visible. It’s where shapes, patterns, and texture will form as subjects in their own right. As a result, your final images will leave so much more to your viewers’ imagination.
So let’s get started!
Finding New Ways To Express Your Creativity!
Flower multiple exposures are a good introduction to the world of blur. There is predictability with these initial techniques and it isn’t as challenging as some types of impressionist photography which will be featured later in the series. All of the images in this blog post were shot with my wonderful Tamron 90 mm F2.8 VC USD Lens. (affiliate link)
My Flower Multiple Exposures Technique
- I shoot my flower multiple exposures using a Canon 5d Mark III and ‘in camera’ rather than in photoshop. You can view all the technical details on setting up your Canon camera at this link. Sorry, but you’ll have to rely on a google search if you don’t have a Canon camera.
- Most of the time I set my camera to ‘average’ blend mode so that the camera automatically underexposes the raw images. As a result, the brighter parts of the image blend better.
- I also prefer to shoot 9 frames/layers in succession as it gives a more painterly feel. Though it really depends on the subject!
- As a photographer, you can choose your own depth of field. It’s a matter of personal choice. Sometimes I’ll shoot very wide at f2.8 to recreate softness. While at other times when I want more definition, texture, and sharpness in each exposure I’ll shoot between f16 – f22.
- I prefer to handhold as I have more control over camera movement as opposed to being locked on to a tripod. Though later in the series we will be using a tripod.
- You can use zooms or primes, handheld or on a tripod, wide-angle, macro lenses, or Lensbaby. It’s fun to experiment with whatever is in your camera bag! When I have only a few flowers I’ll use a macro lens. At other times when I have a large drift of flowers, I’ll use my Canon EF 16-35 mm f/4L IS USM Lens or else my Canon EF 50 mm-f/1.4 USM Lens. (Both affiliate links)
Finally, there’s one more thing you have to remember. Try not to shoot in bright contrasty sunlight where there are highlights bouncing off leaves and petals. You’d never shoot in those conditions when taking normal flower photographs unless you were using a ‘fill-in flash’ OR shooting primarily for bokeh. The same applies when taking flower multiple exposures.
Take your photos at dawn, evening, in a shady part of the garden, on an overcast day, or use a diffuser.
As I suggested in the Practical Photography magazine interview last year I’ll use a scrim or a portable round diffuser (affiliate link) to block the harsh light. I also find that horticultural fleece (affiliate link) pegged to bamboo canes makes a great screen between the sunlight and the flowers. Plus you can adjust the bamboo canes so that they stick in the ground diagonally and they don’t disturb too many of the surrounding plants.
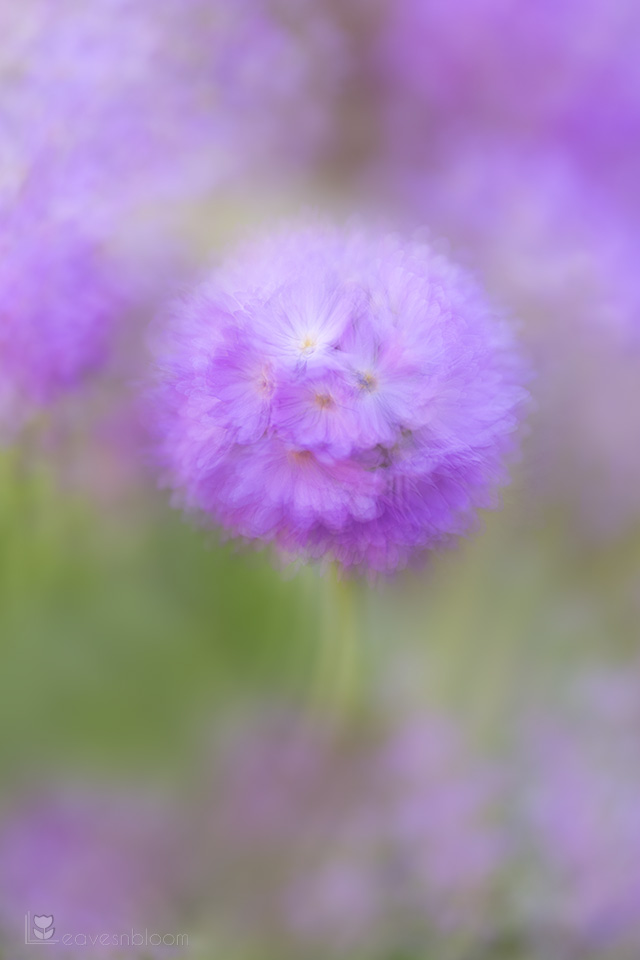
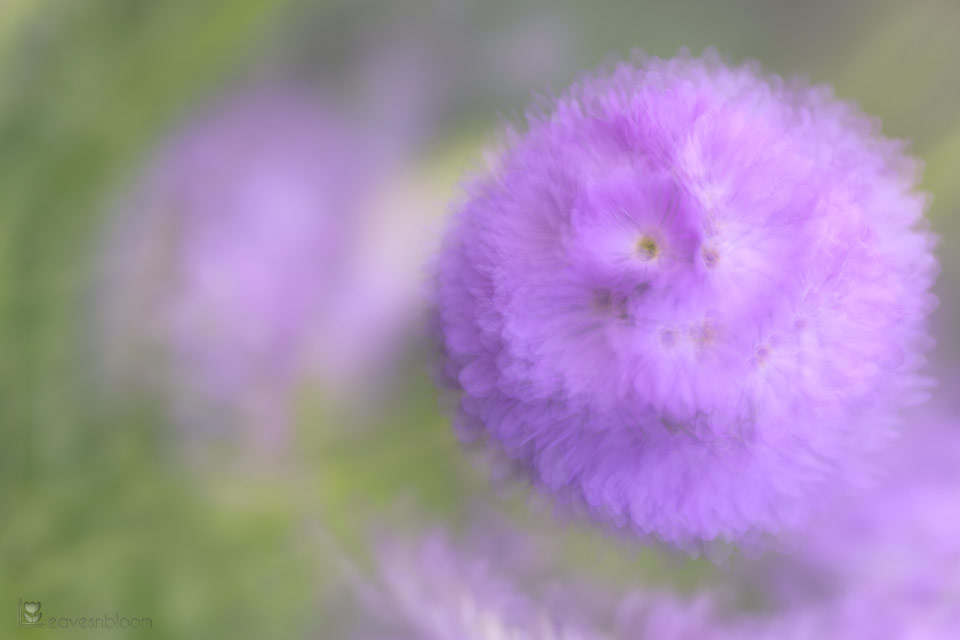
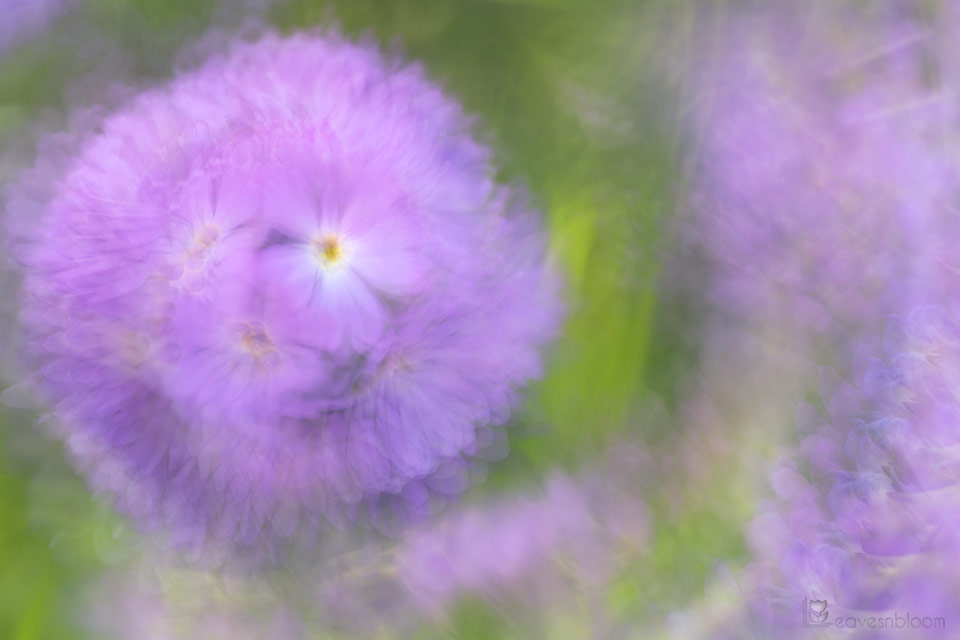
I used a purple Primula denticulata commonly known as a drumstick primula for this blog post. As the flower is round most of my movements were circular following the form of the flower.
Swirl Effect
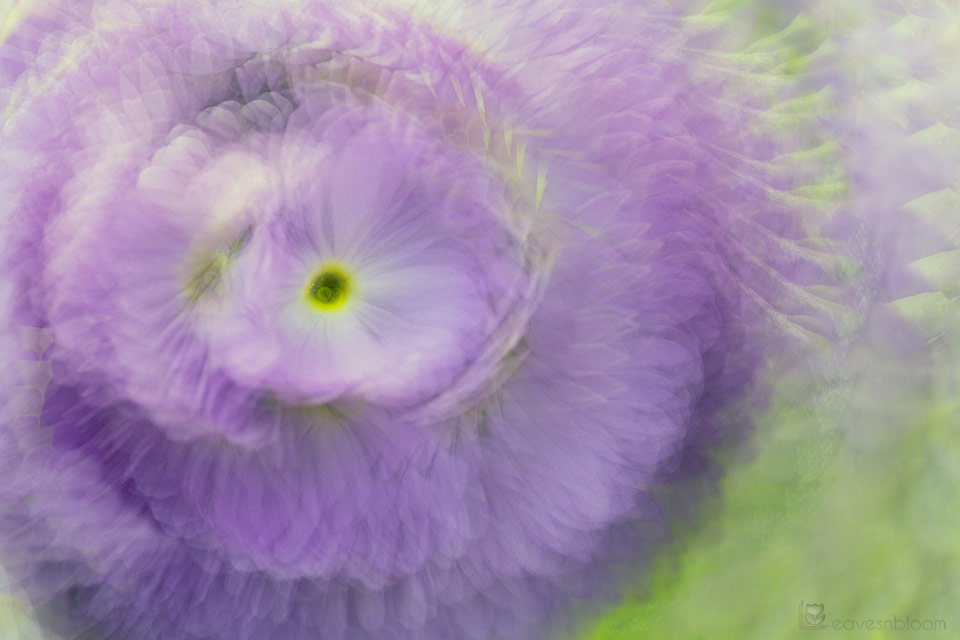
- Decide which part of the flower you want in focus.
- Then start taking the multiple exposures moving ever so slightly in a semicircular direction.
- Start either from the right-hand side or the left.
- Make sure you have grid lines showing in your camera viewfinder or on live view. This means that you can keep that focus point in the same place as you move in the semicircular direction.
Multiple Zoom/Pan Effect
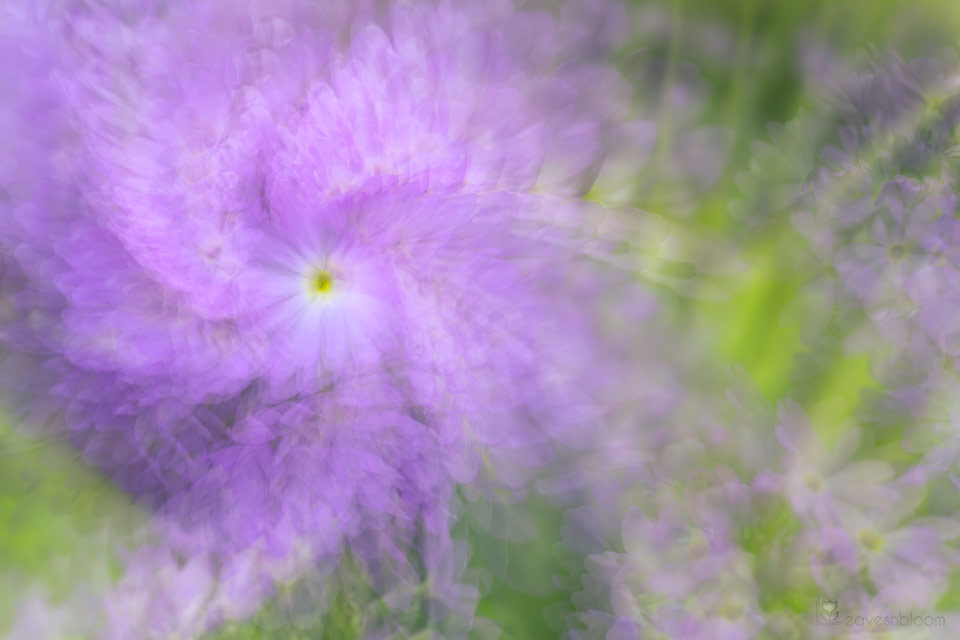
- Despite using a prime lens I pretended it was a zoom lens!
- I took my first photograph.
- Then with each subsequent shot, I physically moved in a little bit closer to the flower.
- Kept the same focus point but also moved the camera a small increment to the right in a semicircular direction before I pressed on the shutter.
- If you were using a zoom lens you wouldn’t need to physically move your body to get closer to the flower with each subsequent exposure. You’d just adjust the focal length of the lens.
- I continued to move the camera in a semicircular direction and each time I took a photograph I physically moved closer to the flower.
- You can start taking your images close up and work away from the flower. Or else start far away and move closer to the flower with each subsequent shot.
We’ll cover double exposures on another blog post!
Even if you don’t have a camera that takes multiple exposures you can recreate something very similar in Adobe Photoshop by following these tips. In addition, there are plenty of free photo-editing programs like Gimp that will allow you to work in layers to create a multiple exposure montage. Furthermore, since there’s an app nowadays for almost everything I’m sure there must be one to make multiple exposures with your phone photos!
Never let your first attempts discourage you. Sometimes it takes time to tap into your creativity mode as you experiment and try new things with your camera. It will take lots of practice to master some of the techniques later in this series. Some will be easier than others. But the possibilities will be endless.