
The Pep Ventosa photography technique is a whole new way of seeing and depicting the flow of time with your camera. Master the technique and it will open up some great new horizons for your own photography too! Furthermore, it doesn’t matter what type of camera you use or how fancy a lens you have. With the Pep Ventosa photography technique, it’s all about what you do with the images you’ve taken.
This post may contain affiliate links, which means I may receive a commission if you click a link and purchase something that I have recommended. As an Amazon Associate, I earn from qualifying purchases. Please check out my disclosure policy for more details.
It’s about YOUR vision …not about gear or plugins!
Pep Ventosa is a Catalan photographer and his contemporary impressionist composites inspired me many years ago. I discovered his work when I was searching for ways of doing multiple exposures in photoshop. Back then I didn’t have a camera that took multiple exposures so it was a useful technique to master.
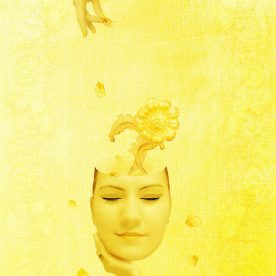
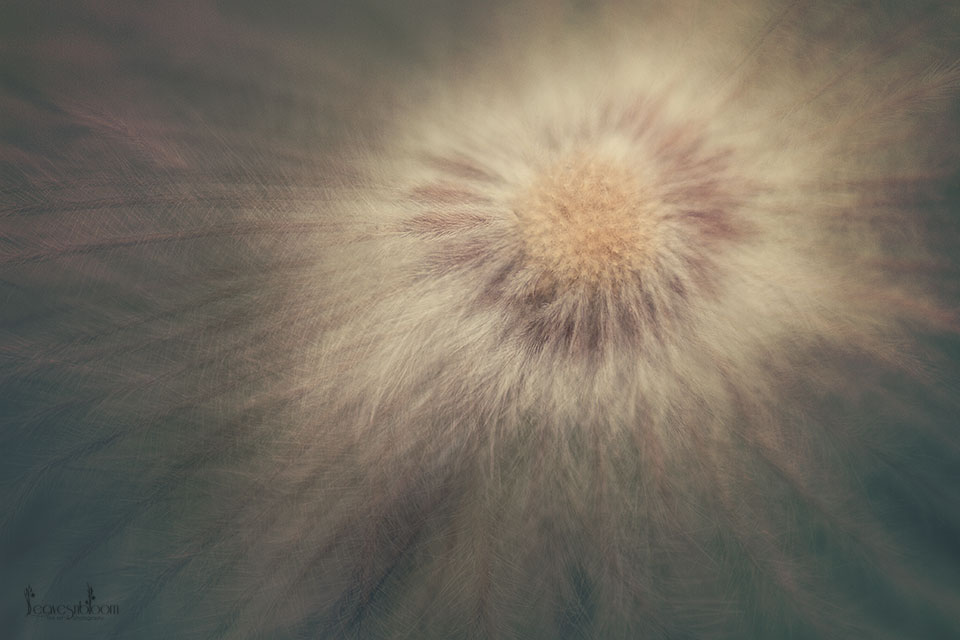
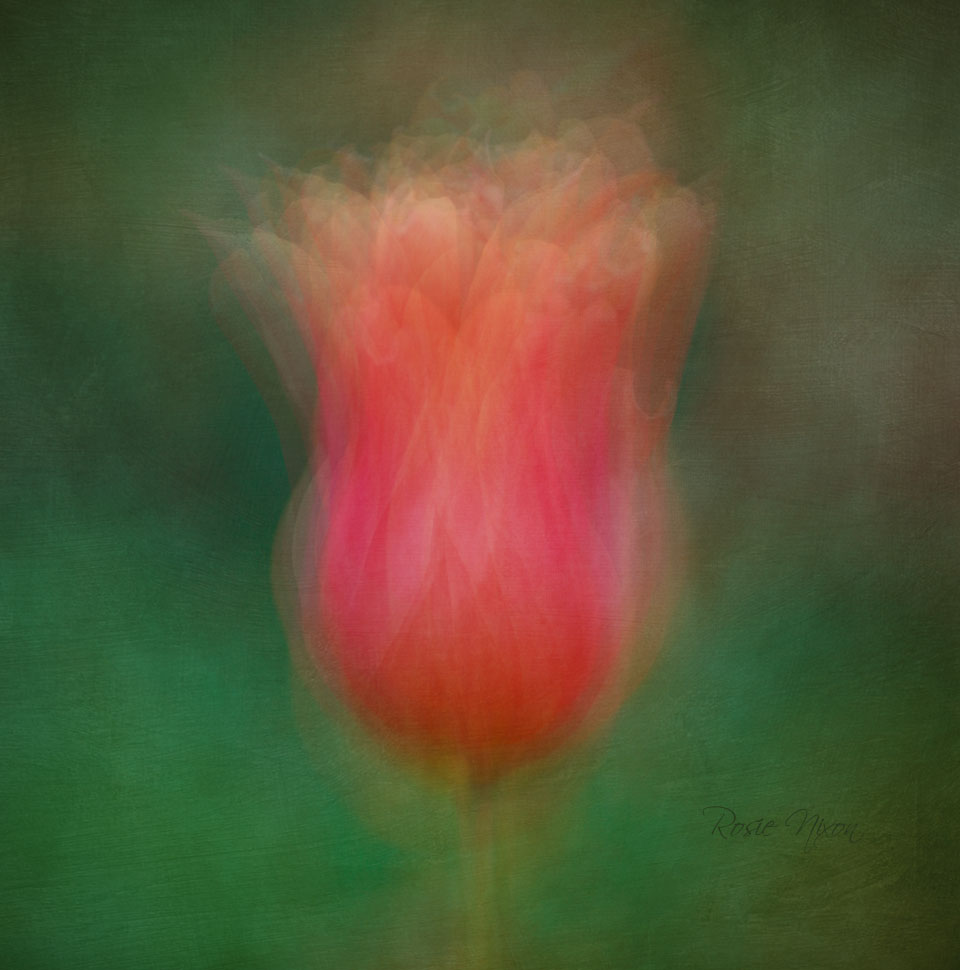
The Pep Ventosa photography technique creates final images that look almost sketch-like in appearance. What’s intriguing about his images is that you see a familiar sight in an unfamiliar and foreign perception of blur, movement, and time. He deconstructs the scene with each shot. Then he digitally reconstructs his images concealing and revealing the pixels one on top of the other. Each layer is unique and plays its part in the collective whole with its ghostly outlines. Each image is taken from a slightly different angle, post edited in different transparencies, contrast, and colour intensities. The final composite image created gives a whole new visual experience of blurred lines and you have to look really close to see what’s happening.
What grows is a unique new narrative space that never actually happened, where the whole has traveled mysteriously further than what the camera documented. Part memory, part imagination. Not unlike the way we see.~ Pep Ventosa
In The Round – The Pep Ventosa Photography Technique
Pep Ventosa shoots an object doing a 360-degree circle and aptly named the technique ‘In the Round’. He walks around an object like a tree or a lamp post taking shots at the same height every couple of feet until he’s gone full circle. The beauty of his images is then created in an image software program such as Photoshop as he stacks the images and blends them together. Picasa multiple exposure collage setting (now retired so new users can’t install it any longer), paint.net or Gimp can also be used.
Adapting the Technique
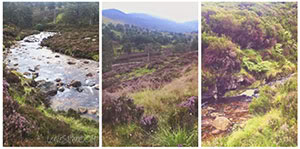
But what I’ve discovered is that it’s essential to adapt the Pep Ventosa photography technique for each specific subject. So if he’s photographing a bridge, building, or an old car he will go along the length of the subject photographing every few steps rather than around 360 degrees.

A busy Aberdeen union street on a dark Saturday in January shot with my Canon EF 50 mm-f/1.4 USM (affiliate link).
With my Aberdeen Union Street photo, I just took photos from slightly different angles from the same position. You’ll get interesting bokeh with lots of ghost-like figures if members of the public are captured in many of the frames.
Pep Ventosa Photography Technique
My Floral Subjects
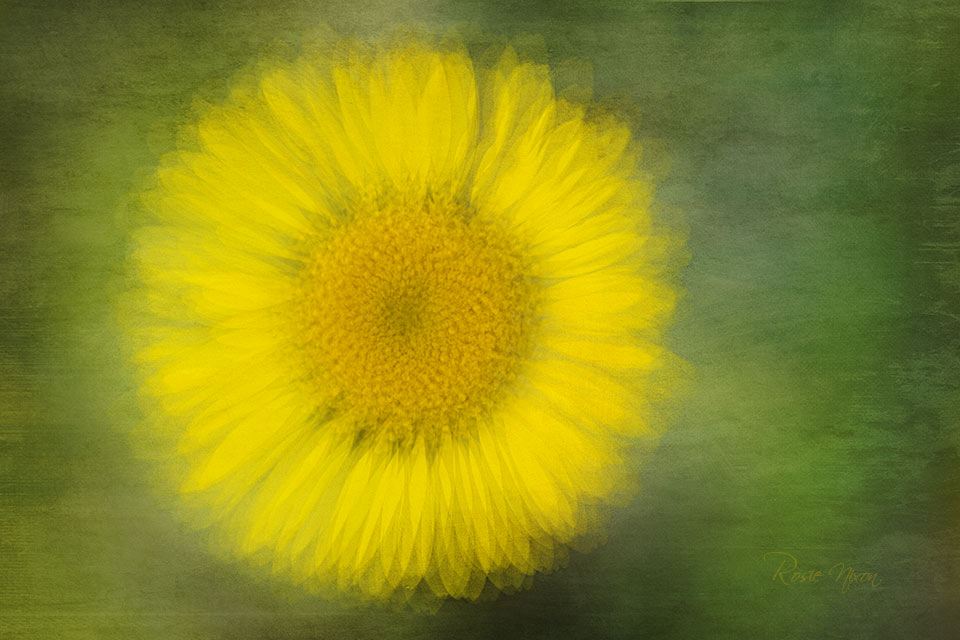
There’s lots of trial and error when you first start to create using the Pep Ventosa photography technique. You need to carefully choose your subject. As always the rules of good design and composition apply, regardless of your multiple exposure technique.
It’s critical that you have a good strong visual subject and composition from the outset. You don’t want to create a mediocre or amorphous image. A characterless blur won’t immerse your viewer or leave a lasting impression.
- Firstly find an object, flower, tree or a building that you want to photograph.
- It’s best to use a wider lens (11- 50 mm approx) so that you can get up close to your subject rather than a telescopic. My Canon EF 16-35 mm f/4L IS USM Lens (affiliate link) is perfect for this type of photography.
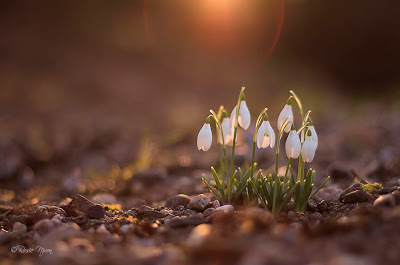
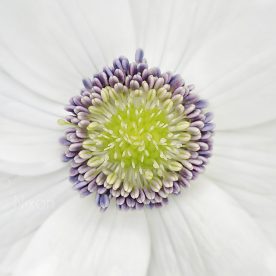
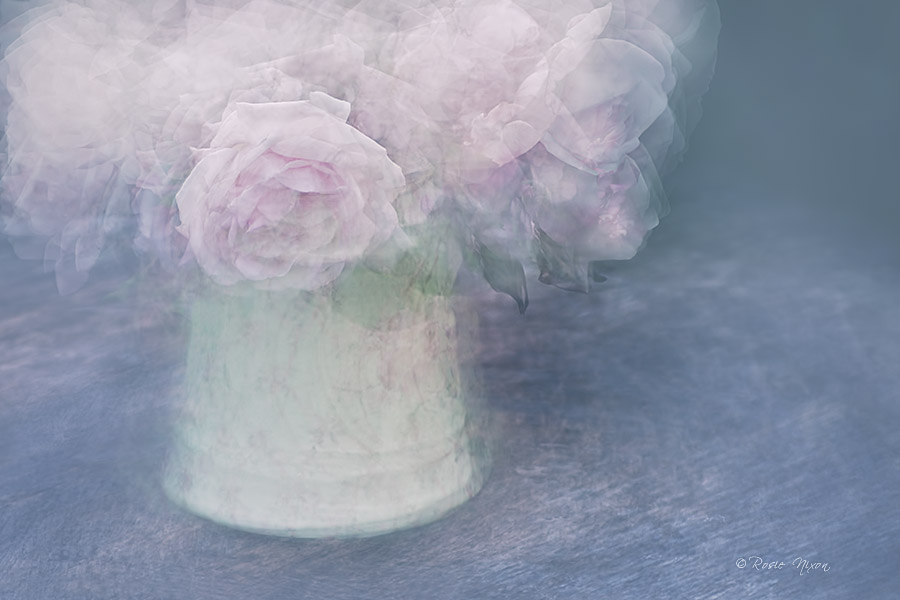
- However, as you can see from some of my photos I’ve also taken some macro shots using my Tamron 90 mm F2.8 VC USD Lens (affiliate link) as I love it’s creamy, dreamy bokeh.
- Shoot jpegs rather than raws (this is so important especially if you don’t have lots of free space on your computer).
- If you are shooting a tree, lamp post or something similar try to keep the subject always in the same part of the viewfinder as you walk around it. (Use live view with a grid on the LCD screen).
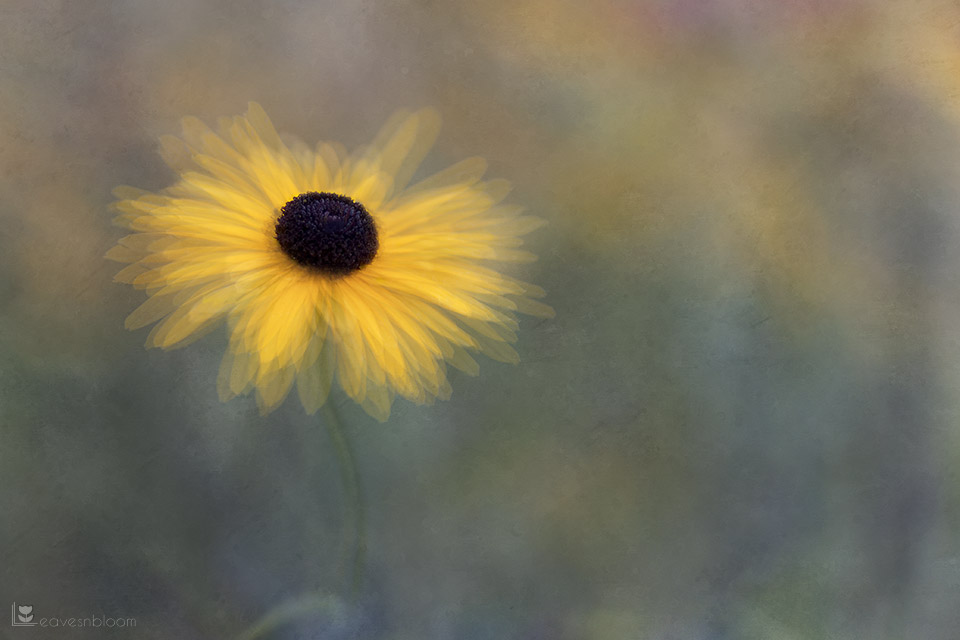
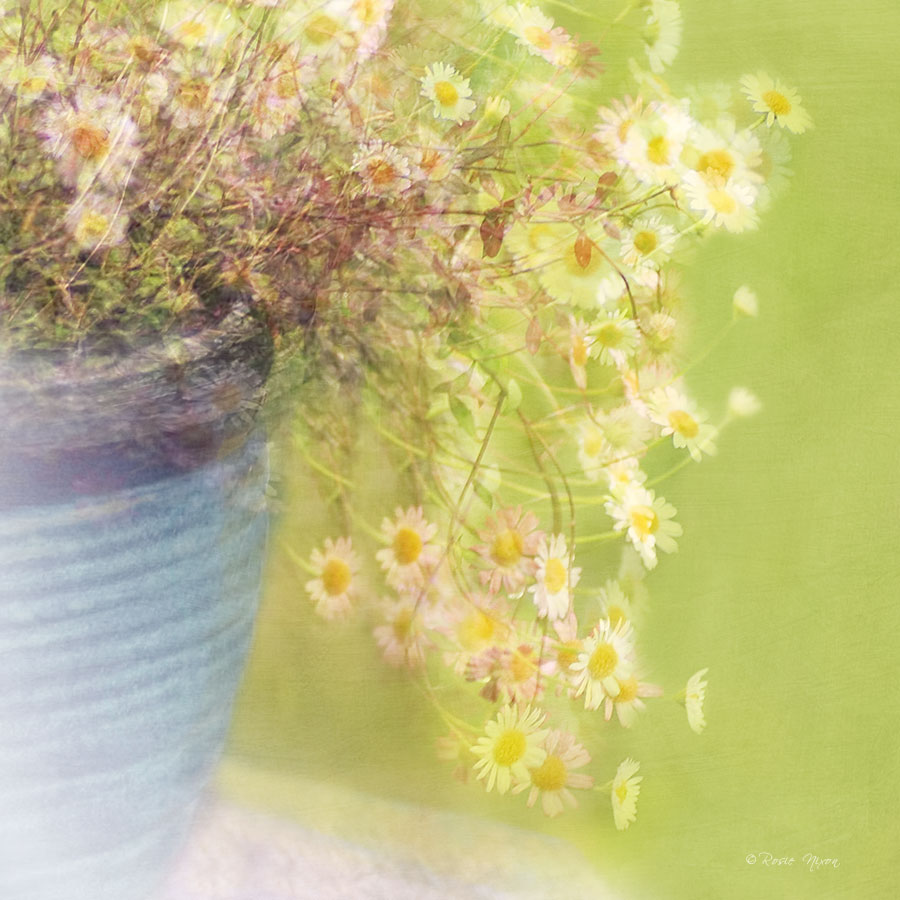
- You can decide whether or not to reveal a very focused part of the image in some of the layers. Sometimes I do that with my floral work as in the Rudbeckia daisy image above. Pep Ventosa has been doing that with some of his most recent urban images.
Sketch Me A Photograph
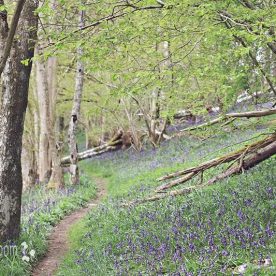
Trees
For this tree I shot 360 degrees around the tree. Tip: don’t shoot with a telescopic lens as you could run into 200 photos and have sore arms by the time you’ve gone full circle.
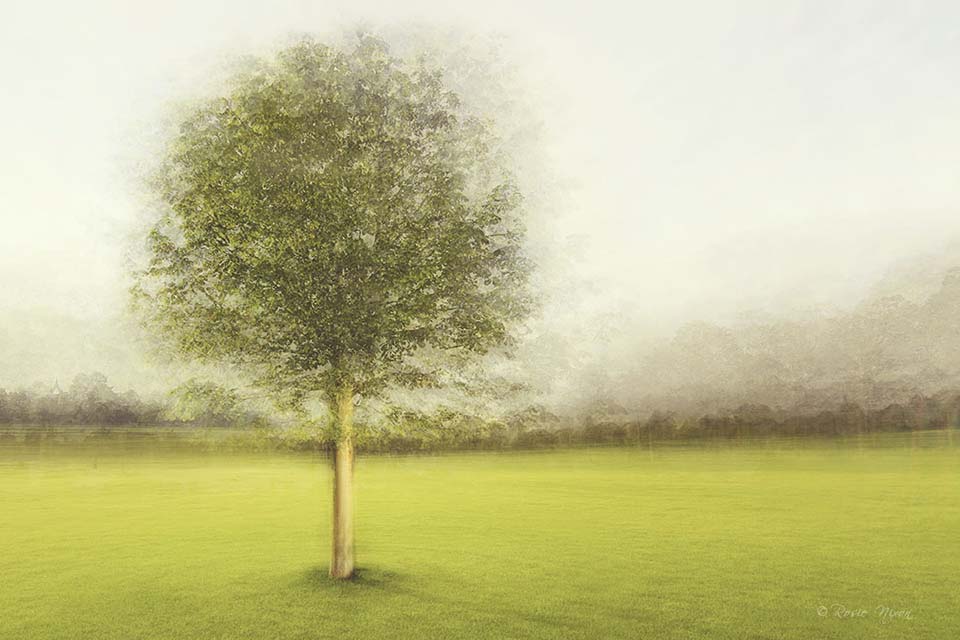
I made a mental note of how I wanted the finished tree to be composed. Then I worked from that vision making sure I knew where the important parts of the tree were in line with the grid on the LCD screen. I kept those bits as much as possible on a particular point on the grid line. Also making sure that the top and bottom were always at the same level too as I turned.
Spend the time making sure that you try to keep the same distance from the tree all the way around. If you do that once you layer the images in photoshop the tree trunks should nearly all match up. Those ones that don’t – just change the blending mode to a lighter one and they won’t show up as much. Some bits inevitably move away but it depends on where those layers are sandwiched into the image. You can’t see the bright star-shaped sun, nor the lens flare, or my shadow as I walk around part of the tree. But all of those imperfections are in there. It’s the way you stack your image sequence that’s the important thing. That was a huge learning curve for me. Plus I had to mask out a few trunks on some of the layers.
Picture Sandwiching
Your images are the start of a journey in creating a piece of art!
Part of the creativeness in this type of work is deciding where you start your layering.
Do you start at image layer number …
- 1,2,3,4,5,6,7,8,9 or
- 5,6,7,8,9,1,2,3,4 or
- 8,9,1,2,3,4,5,6,7 ?
All 3 of these combinations of layers will give a slightly different look to the bokeh.
• If you are using Photoshop upload all the images into a stack.
• Don’t let photoshop automatically align your image as you’ll want to free transform the image layers and align them manually.
• If something needs to be cloned out then you’ll have to do it on each layer that it’s being shown on.
• Then adjust the opacity of each layer starting at the bottom layer and work your way to the top layer.
• If you’re using 10 images then reduce the opacity for example 10% per layer …you’ll need to spend a little bit of time on this as it’s all down to personal taste. Your last layer should be approx 5% opacity.
• You can also change the blending mode of some of the layers from normal to soft light or multiply.
• Crop the image at the end to account for some of the layers being moved.
Layer Opacity
Depending on the number of images you’ll need to change the opacity of each layer. Start at 50% and the blending mode – either multiply or screen. Then work your way through each layer.
You’ll find that the image really doesn’t become like a ‘Pep Ventosa’ one until the very last few layers. Pep can sometimes work with 100 layers. I’ve worked with 100 layers in the past too but you can also get great results just using about 30. Actually you might even get away with using 9. It depends on the subject and sometimes less is more especially if you are only shooting one side of a subject.
If you are confident in adding scripts to Photoshop then you can download this free Layer Stack Opacity Blending Script. It saves time and works out all the different opacity percentages for each layer with just the click of a button.
A Lasting Impression

My Pep Ventosa photography technique tree image was created with about 100 layers. This is just a tiny crop from the left-hand side of that image. Just look at the detail in that tiny crop!
Why not push your photography further and embark on a new adventure today. Check out Pep Ventosa’s website too for much more inspiration!